
Installing a Water Treatment System: Steps and Pitfalls
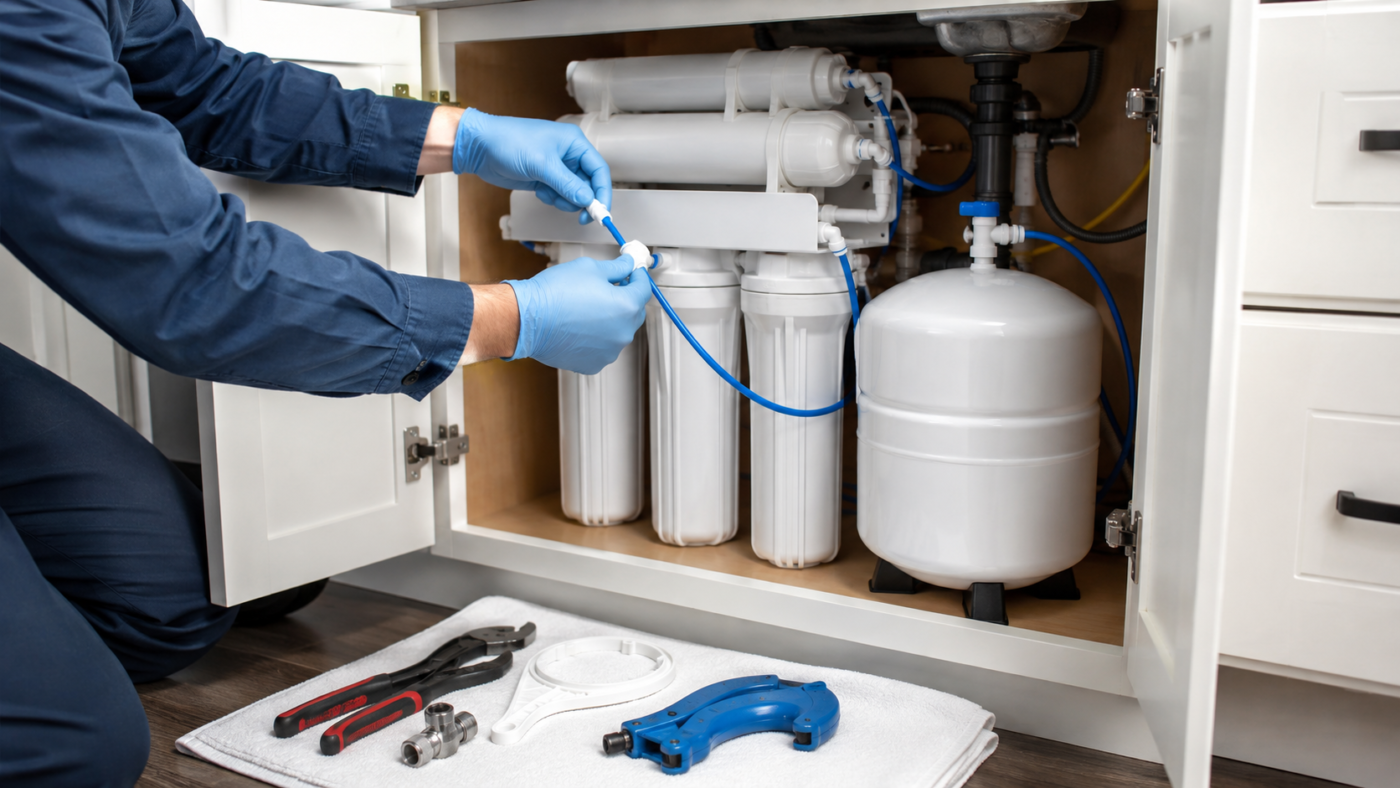
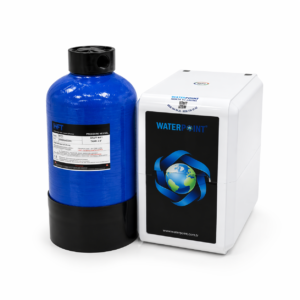
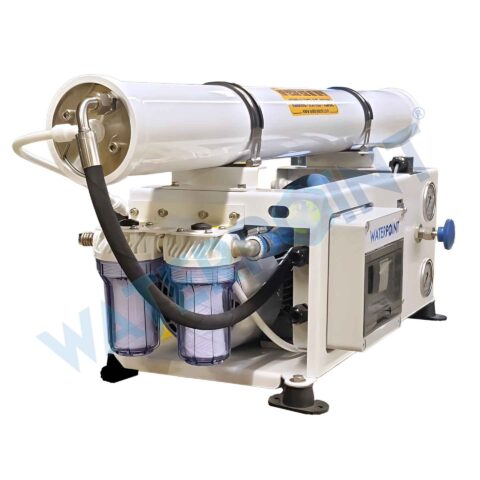
When you open the box you find a body, a few coloured hoses, a tap set, a tank and a few fittings you do not recognise. It does not look complicated at first sight; but a single hose that is not fully seated can turn into a leak that goes unnoticed inside a cabinet for days. So installing a water treatment system is a stage calling for as much care as choosing the unit.
In this guide we take up the installation process step by step: what should be checked beforehand, in what order the connections are made, what to watch on the first run and the mistakes made most often. And we set out something just as important honestly: in which cases the work must be left to an authorised technical service.
What Is Checked Before Installing a Water Treatment System?
Four headings are checked before installation: the space the unit will sit in, access to the cold water line, a drain connection for the waste water, and whether the mains pressure is sufficient. An installation started without confirming those conditions stops halfway and leads to extra plumbing work.
The preparation stage is the part most often skipped but the one that affects the result most. When the unit reaches you, going over the space where it will be installed rather than moving straight to the connections saves time. What should be checked is this:
A Checklist Before Installation
- Is there enough room in the cabinet for the unit and for the tank, if there is one?
- Is there a suitable point where a connection can be made to the cold water line?
- Is access to a drain possible for the waste water line?
- Is there a hole in the worktop for the treated water tap, or can one be made?
- On a pumped or digital model, is a power socket within reach?
- Is the mains pressure sufficient for the unit to work?
- Do you have the unit’s own manual and connection diagram to hand?
The last item on that list matters in particular. Every unit has a different connection layout, hose colour coding and order of stages. This article sets out the general flow; in practice the connection diagram in the unit’s own manual should always govern.
The question of pressure should be settled at the preparation stage too. If the mains pressure is insufficient the unit produces slowly and the treatment performance stays below what is expected; in that case the build should be planned with a pumped system. If the unit has not been chosen yet, we took up in detail which type suits in our unit selection guide.
Choosing Where to Install It
The unit is generally placed in the cabinet under the kitchen worktop. The point chosen should have enough room for the body and the tank, room for service when changing the filters, and easy access. The unit should also be kept away from any direct heat source and from excess damp.
Three dimensions are thought about together when deciding the layout: the space the unit takes up, the position of the tank, and the room to manoeuvre needed during maintenance. A layout that fits at the moment of installation but whose cover cannot be opened causes trouble at the first filter change.
The points to watch are these:
- Room for service: Space should be left in front for opening the body covers and taking the cartridges out.
- The position of the tank: The tank should generally stand upright on a firm base; its hose should not be crushed.
- Distance from heat: A position in direct contact with heat sources such as a dishwasher or an oven should be avoided.
- Checking the floor: Having the floor visible is an advantage so that any leak is noticed early.
- The route of the hoses: The hoses should run without sharp turns, without being crushed and without being stretched.
When an installation is planned, those details should be settled at the outset and not afterwards. When the layout is changed after installation, all the connections have to be taken apart again, and every disconnection and reconnection raises the risk of a leak.
The Plumbing Connections Needed
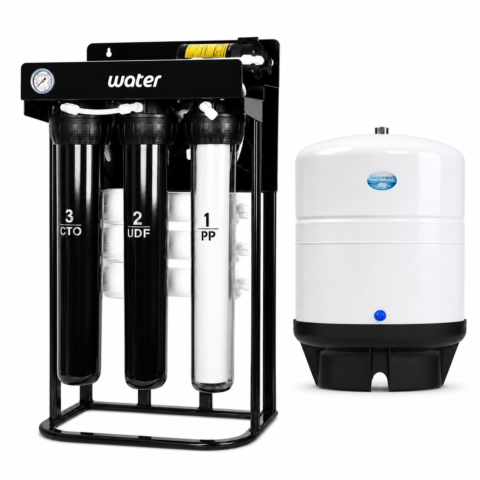
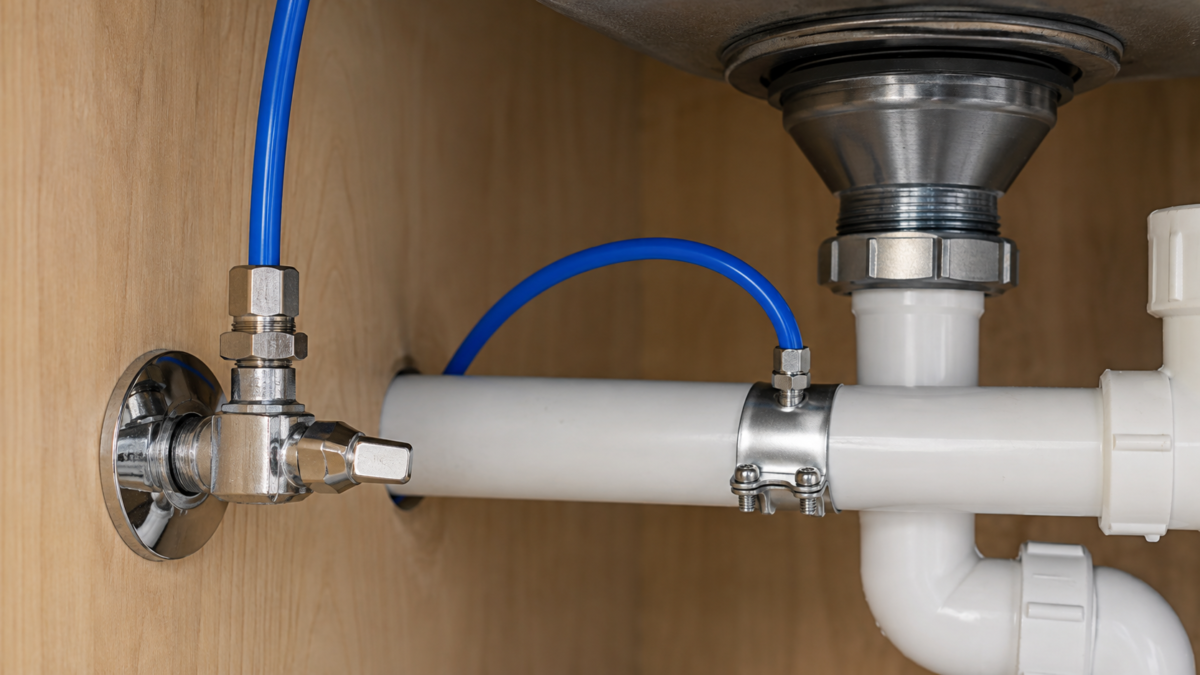
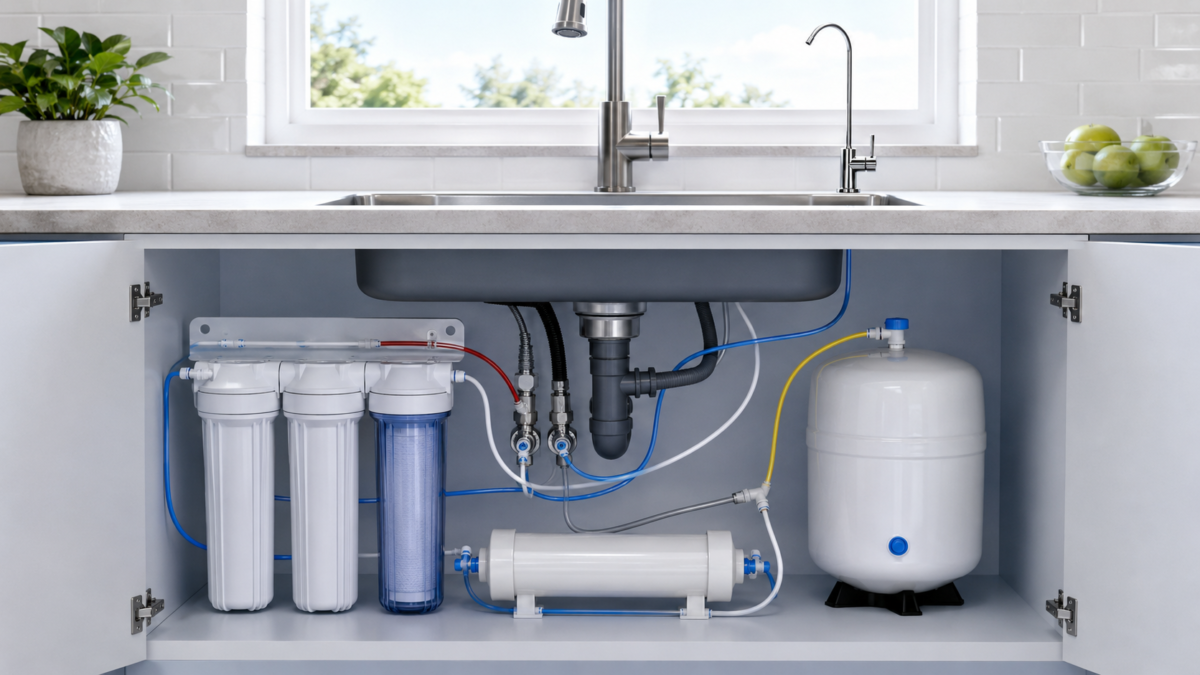
In a standard installation four connections are made: a quarter-turn valve for the cold water inlet, a separate tap fitted to the worktop for the treated water, a drain connection for the waste water, and the tank line on systems with storage. Every connection has its own job, and when one is missing the system does not work correctly.
Knowing the connections one by one markedly reduces the chance of a mistake during installation:
The Cold Water Inlet
The unit is always connected to the cold water line; a valve acting as a shut-off is used at the inlet.
The Treated Water Tap
A separate tap is fitted to the worktop; the treated water is taken from that point.
The Drain Connection
The waste water line is connected to the sink drain with a suitable fitting.
The Tank Line
On systems with storage the tank is connected to the unit through its own valve.
The cold water connection is the most critical point; when the unit is connected to the hot water line the filters and the membrane are damaged. That is an irreversible mistake and is usually outside the warranty cover.
The choice of tap bears directly on comfort in use too. Standard models are enough for those who want to take treated water from a single point, while those who want to bring different water options together in one body prefer a three-way tap. For those looking for a decorative alternative, luxury treatment taps are a suitable option.
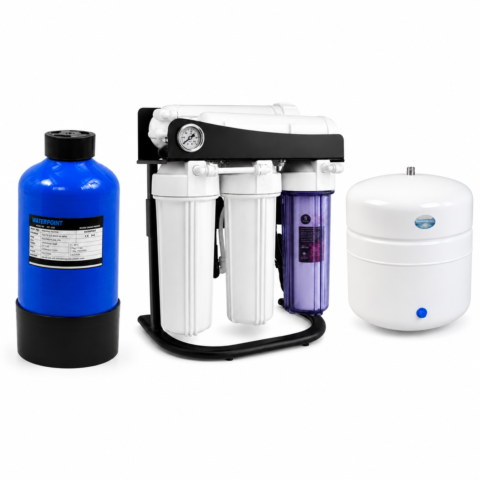
On systems with storage the tank is a separate part of the installation. A water treatment tank of a suitable volume is positioned according to the layout inside the cabinet and connected to the system through its own valve.
The Installation Steps
The installation runs in a particular order: the water is turned off, the inlet valve is fitted, the unit is placed, the hose connections are made, the tap is fitted, the drain connection is set up and finally the tank is connected. Changing the order leads to mistakes that call for taking things apart afterwards.
The flow below shows the general logic followed during an installation. In practice the unit’s own connection diagram should govern:
-
Turn Off the Water
The main valve on the kitchen line is closed and the pressure left in the line released by opening a tap. No connection is touched before that step is done.
-
Fit the Inlet Valve
A shut-off valve to feed the unit is fitted onto the cold water line. That valve lets you cut off the water during maintenance later on.
-
Place the Unit
The body is positioned firmly and level at the point planned. A layout is chosen where the hoses can run comfortably.
-
Make the Hose Connections
The inlet, outlet and waste lines are connected according to the diagram in the manual. Every hose is checked for being fully seated in its connection point.
-
Fit the Tap
The existing hole in the worktop is used or a suitable point is opened. The tap is fixed and the treated water line connected.
-
Set Up the Drain Connection
The waste water line is connected to the sink drain with a suitable fitting. The position of the connection point is chosen so that there is no backflow.
-
Connect the Tank
On systems with storage the tank line is connected and the tank valve opened. The tank is confirmed to be standing upright and firm.
-
Open the Water Gradually
The main valve is opened slowly; the system is pressurised in stages. Sudden pressure can put strain on the connections.
That flow is a general framework, not an instruction specific to a make and model. Users without experience of plumbing are advised to have the installation carried out by an authorised service; a faulty connection can lead to a water leak and to loss of the warranty.
The First Run and Running Off the First Water
Once the system is pressurised, the first water produced is not used. The dust and traces of the protective agent left in the stages from production and storage have to be washed out. After the tank fills it is emptied once or several times to rinse the system; the water is then ready for use.
That step is often rushed; yet the first rinse bears directly on the taste and the clarity of the water. Newly fitted cartridges can contain carbon dust and the first water out can look grey or cloudy. That is normal and passes with rinsing.
The order to follow on the first run is this: the system is pressurised, the tap is left open to let the air out, and you wait until the flow settles. On systems with storage the tank takes time to fill; that time varies with the capacity and the inlet pressure. Once the tank is full the water is run off, and that operation is repeated as many times as the manual states.
Slight differences in the taste of the water are usual at that stage. The system settles after a few fill-and-empty cycles. For a general framework on installing and using domestic treatment systems, the US Environmental Protection Agency guide to home water treatment can be consulted.
Checking for Leaks and the First 24 Hours
Once the installation is complete, all the connection points are checked one by one. The floor is dried and looked at again a few hours later; even the smallest trace of damp shows that a connection is not fully seated. The first twenty-four hours are the most critical period of observation for an installation.
Leaks usually appear not at the first moment but after the system has reached full pressure. So finishing the installation and closing the cabinet door is not enough. The method of checking advised is this:
- The dry floor test: A dry paper towel is laid under the unit; even the smallest drop is noticed at once.
- Scanning the connections: Every connection point is checked one by one, by hand and by eye.
- Around the tap: The underside of the mounting point on the worktop is inspected separately.
- The drain line: The waste water connection is confirmed not to be leaking and to be discharging properly.
- Checking again: The same points are reviewed a few hours later and again the next day.
Opening the cabinet door and checking often on the first day after an installation is the most practical way of catching a problem early before it grows. A small leak that goes unnoticed can do serious damage to the base of the cabinet and to the kitchen floor over time.
After the installation, show the household where the inlet valve is and how it is closed. The first thing to do if there is a leak is to turn off the water; knowing where the valve is saves time.
Common Installation Mistakes
The most common mistakes are these: a hose not fully seated in its connection, connecting to the hot water line, positioning the drain connection wrongly, fitting the valve at an unsuitable point, placing the unit in a cramped space, a crushed hose and not running off the first water. Each has a different but preventable consequence.
The table below sums up the mistakes together with their consequences:
| The Mistake | The Result | How to Prevent It |
|---|---|---|
| A hose not fully seated | A leak starts under pressure | Every connection is checked by hand and tested with a gentle pull |
| Connecting to the hot water line | The filters and the membrane are damaged | The connection is always made to the cold water line |
| A faulty drain connection | Backflow and a smell problem arise | The connection point is chosen according to the position in the manual |
| The valve at the wrong point | The water cannot be cut off during maintenance | The shut-off valve is fitted at a reachable point |
| The unit in a cramped space | The filters cannot be changed | Room for service is planned from the outset |
| A hose crushed or kinked | The flow falls and efficiency is lost | The hoses are laid without being stretched and without sharp turns |
| The first water not run off | Problems appear in taste and clarity | The rinsing stated in the manual is repeated |
What those mistakes have in common is that all of them can be prevented by a few minutes of checking at the moment of installation. Putting them right afterwards calls for the system to be taken apart and reconnected. So not rushing during an installation is the most effective protection there is.
The Risk of a Leak
A connection that is not fully seated works loose under pressure over time and creates a build-up inside the cabinet.
Loss of the Warranty
Faults arising from a faulty installation are usually assessed as outside the warranty cover.
Early Wear
Connecting to the wrong line leads to the filters and the membrane finishing before completing their expected life.
Difficult Maintenance
On a layout with no room for service, every filter change calls for extra labour.
Installation at the Building Inlet and on Central Systems
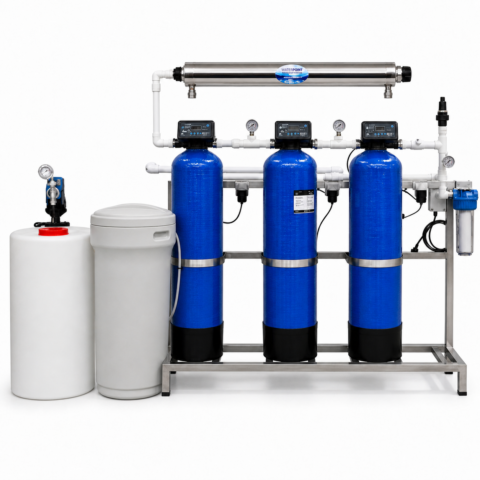
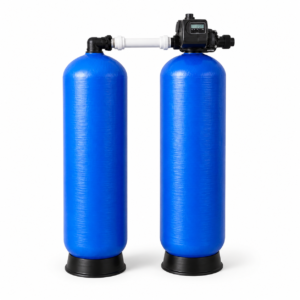
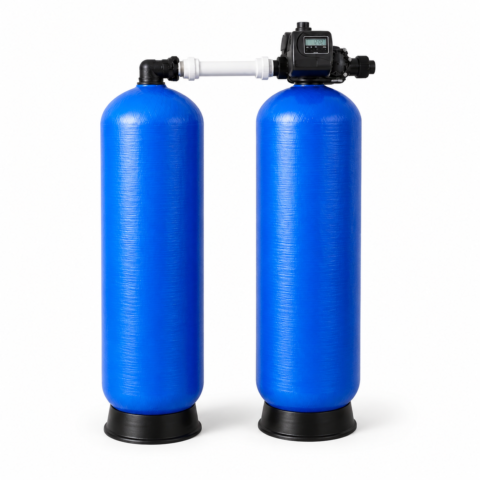
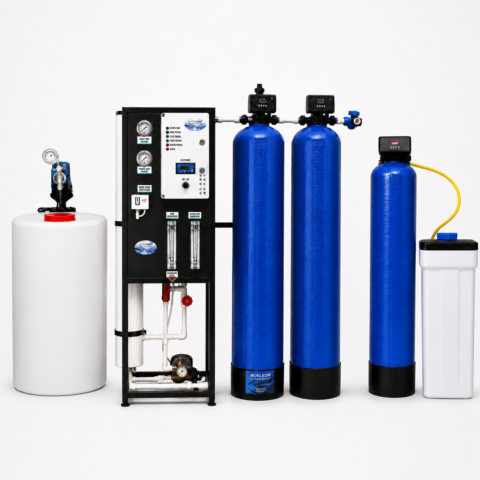
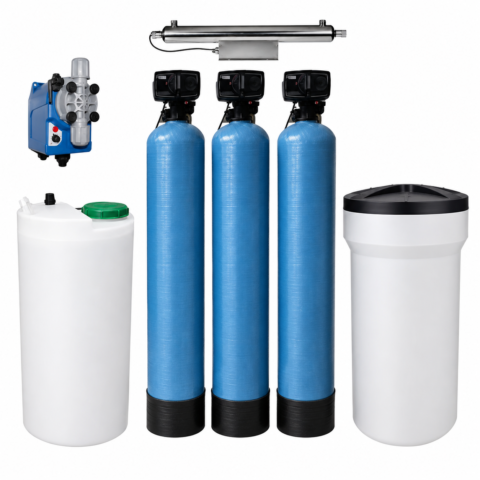
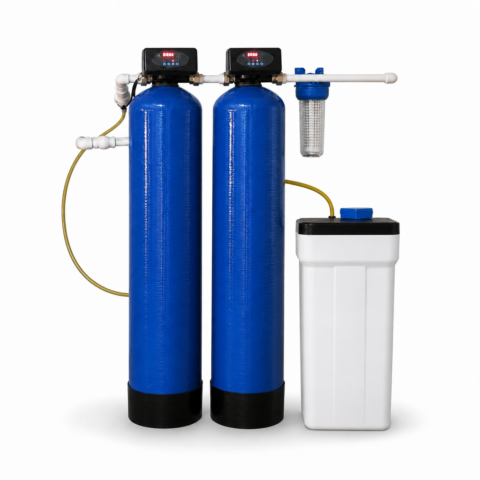
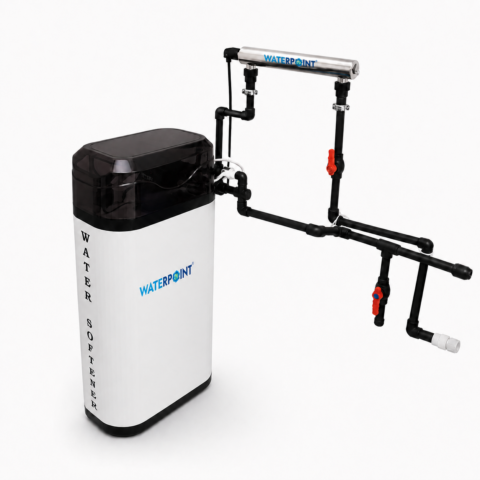
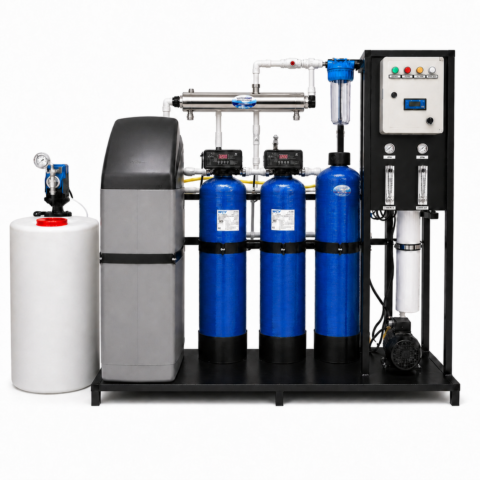
Installations made on the main line are of an entirely different scope from an under-counter fit. The system is connected to the inlet line after the meter and a bypass valve is essential. The drain connection, the power supply and the space for service should also be planned in advance. Those installations call for an authorised service.
The most critical element here is the bypass valve. On a system working on the main line, when maintenance has to be done, without a bypass the water to the whole building or the flat has to be cut off. In apartment blocks and businesses that is not an acceptable position.
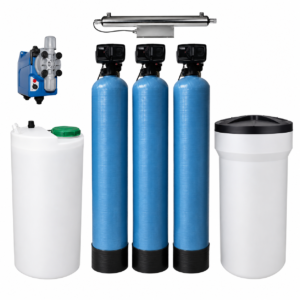
On central installations these are planned in addition: enough space for the tank bodies, discharging the backwash or regeneration waste water, a power supply for the automatic valves, and room to manoeuvre during maintenance. We took up the scope of those conditions and the logic of the installation in detail in our building inlet treatment systems article.
Working on the main line calls for plumbing knowledge and suitable equipment. A connection made wrongly affects not only the unit but the plumbing of the building. For an installation at that scale, authorised service support is not a choice but a technical necessity.
In Which Cases Is Technical Service Essential?
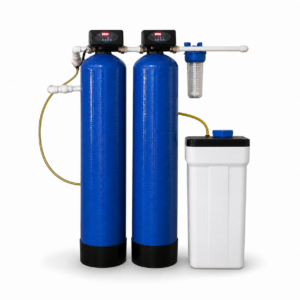
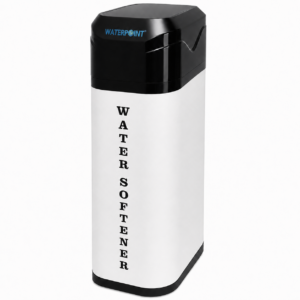
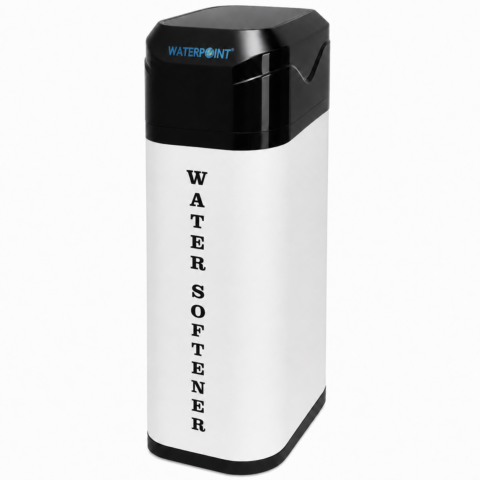
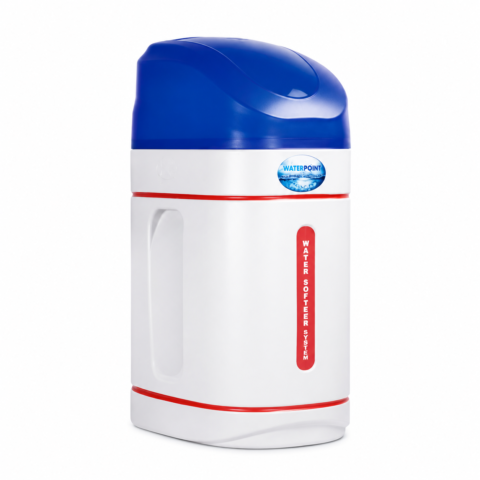
Softening systems, industrial installations, work calling for intervention on the main line, electrical units and riser connections must all be carried out by an authorised service. And the installation conditions laid down by the manufacturer have to be followed if the warranty cover is to be preserved.
This section has to be written clearly, because a wrong choice leads both to material loss and to losing the warranty. In the following cases the installation should definitely be left to a professional:
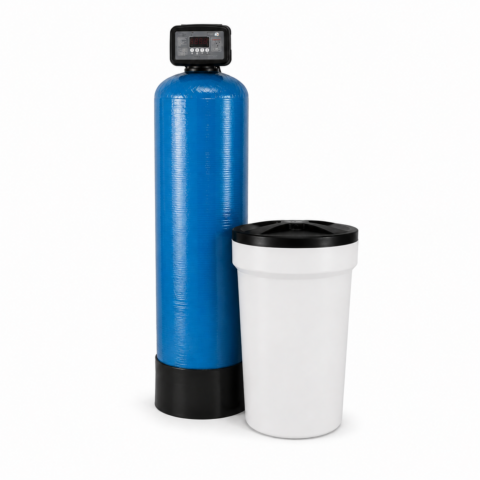
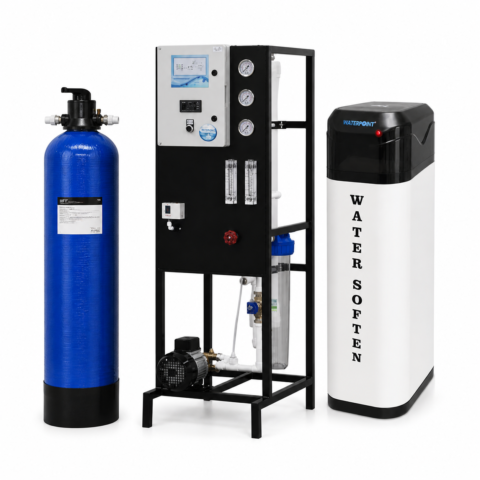
- Softening systems: The tank, valve, salt tank and drain connection are built together and call for setting up.
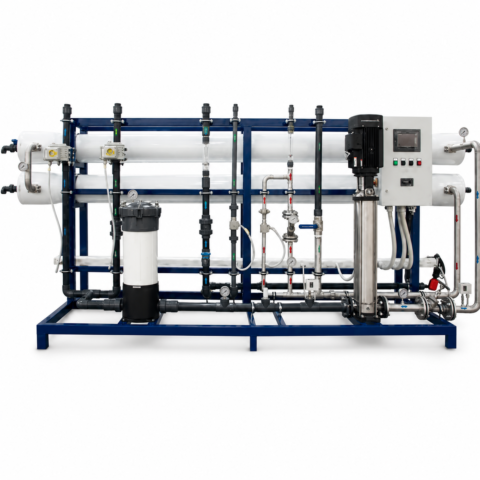
- Industrial installations: High flow, heavy equipment and plumbing specific to the project are involved.
- Work on the main line: Every connection made to a building or flat inlet line calls for technical competence.
- Electrical units: Connecting the pump, the automatic valve and the electrical components calls for safety.
- Work on riser lines: Work on the shared plumbing of an apartment block calls for the approval of the management and for expertise.
- Lines with a pressure problem: Whether a pump is needed and the pressure balance have to be assessed correctly.
A simple under-counter installation can be carried out by someone experienced with plumbing, following the manual. But even then the responsibility rests with the user; a possible leak may be assessed as outside the warranty. Taking professional support at every step you cannot be sure of is the safest approach.
Many manufacturers state installation by an authorised service as a condition of the warranty. Checking the warranty terms of your unit before starting the installation prevents disputes later on.
The Maintenance Calendar After Installation
The installation is not the end of the process but the beginning. Because the filter stages fill over time, regular renewal is needed. Checking the connections periodically also reduces the risk of a leak. The interval is set by the quality of the inlet water and the intensity of use.
Noting the date of installation once it is complete is a good habit; the first filter change is planned from that date. The headings to keep track of are these:
A Follow-Up List After Installation
- Have the installation date and the stage structure been noted?
- Were the connection points checked again in the first week?
- Are the taste and the flow rate of the treated water normal?
- Has the filter change interval been put in the calendar?
- Has the household been shown where the inlet valve is?
- Has a replacement filter set been obtained?
Renewing the filters is the only regular operation that preserves the performance of the system. We took up step by step which stage is changed when and how the signs are read in our filter change guide. When the time comes, the whole line can be refreshed with a spare filter set suited to the stage layout.
Changing a filter is in fact a small-scale installation: the water is turned off, the body is opened, the cartridge is changed and the system is pressurised again. So the checks you learn during an installation come in useful at every maintenance.
Are you looking for technical support with the installation?
You can bring the system safely into service by taking support with the installation, the layout planning or checking the connections.
See the Treatment SolutionsFrequently Asked Questions
Can I install a water treatment system myself?
A simple under-counter installation can be carried out by someone experienced with plumbing, following the manual. But the responsibility rests with the user; a faulty connection can lead to a water leak and to losing the warranty. If you are not sure, an authorised service should be preferred.
Can the unit be connected to the hot water line?
No. The connection is always made to the cold water line. Hot water does permanent damage to the filter cartridges and the membrane; that mistake is usually assessed as outside the warranty cover and calls for the stages to be changed.
Why should I run off the first water after installation?
New stages can contain dust and traces of the protective agent left from production and storage. The first water produced is run off to rinse the system. Once that is repeated as many times as the manual states, the water is ready for use.
What is done if there is no hole in the worktop for the tap?
A hole has to be made at a suitable point. Depending on the worktop material that can call for special equipment and experience; on hard surfaces such as granite, professional support is advised.
What should I do if there is a leak after installation?
The first step is to turn off the water by closing the inlet valve. Then it is established which connection the leak is coming from. Remaking the connection usually solves the problem; if it continues, technical service support should be taken.
Is installation different on central and softening systems?
Yes, entirely. Those systems are installed on the main line, a bypass valve is essential and they call for drain and power connections. Installations at that scale must be carried out by an authorised service.
When should I change the filters after installation?
There is no fixed period; the quality of the inlet water and the intensity of use are what decide. A drop in flow, a change in taste and a rise in the measured value are the clearest signs. The period in the unit’s manual should be taken as the basis.
Conclusion
An installation done correctly is the precondition of a unit working without trouble for years. The process starts with preparation: the space, the water line, the drain and the pressure are confirmed in advance. Then the connections are made in a particular order, the system is pressurised in stages and the first water run off to rinse the stages. The first twenty-four hours after installation are the most critical window of observation; a dry floor test and a scan of the connections stop a small leak from growing. A simple under-counter installation can be carried out by someone experienced; but on softening, industrial and main-line installations an authorised service is unquestionably necessary. And finally: the installation is not an ending but the start of a regular maintenance calendar.
Complete your installation safely with an expert team
For the installation, the layout planning and the commissioning process you can get in touch with the Water Point technical service team.
Discover the Solution That Suits You