
How Is a Water Analysis Done? Which Values Are Looked At?

Most people who buy a water purifier never have their water measured before deciding. Models are researched, prices compared, offers looked at — yet what is actually in the water the system will treat remains unknown. The result is usually the same: a drinking water unit is bought for a limescale problem, or money is spent on a stage that was never needed. Yet the right decision has only one solid basis: a water analysis.
Water looking clear says nothing about the dissolved substances in it. The calcium that forms limescale, the iron that leaves stains and the chlorine that spoils the taste are all invisible. In this guide we take up step by step how to have your water tested, which values are looked at, why taking the sample correctly is critical, and how to read the report.
What Is a Water Analysis and Why Is It Needed?
A water analysis is the measurement of the physical, chemical and microbiological properties of a water sample. Parameters such as hardness, conductivity, pH, iron, manganese and microbiological load are established. That measurement reveals the real profile of the water and bases the choice of treatment on data rather than guesswork.
A water analysis is really a diagnosis. Just as a doctor does not prescribe without tests, the right treatment system cannot be chosen without knowing what is in the water. Even the water of two neighbours in the same area can come out differently; the building’s tank, the plumbing material and the depth of a well all change the picture.
An analysis brings three concrete benefits. The first is choosing the right system: which stages are needed becomes clear. The second is cost control; unnecessary stages are left out. The third is the ability to follow up: measurements taken after installation confirm that the system is genuinely working.
The importance of testing domestic water is stressed in official sources too; the US Environmental Protection Agency’s guide to testing drinking water at home states that households using a private well in particular have to monitor their own water quality. In short, a water analysis is the first step of the treatment journey — not the last.
Why Does the Need for Analysis Differ Between Mains and Well Water?
On mains water the authority measures regularly; but after the water enters a building it can be affected by the tank and the plumbing. On well water there is no public monitoring and all the responsibility rests with the user. In households using a well, therefore, a water analysis is not a preference but a basic requirement.
The difference between the two sources is about where the responsibility lies:
Monitored at source
The authority measures regularly; but conditions after distribution can change.
- Regional average figures are published
- The building’s tank can affect quality
- Old plumbing can add metals
- Hardness varies from area to area
The responsibility is the user’s
There is no regular public monitoring; the content is known only through testing.
- The content varies with the geology
- There is a risk of microbiological load
- Iron and manganese are common
- It can vary with the season
Even on mains water an analysis is not pointless; the published figures are a regional average and may not represent the water running from your own tap. In buildings with storage tanks and old plumbing in particular, the quality at source and the quality at the tap can differ.
On the well side the picture is clearer: without an analysis nothing is known. We took up in detail which problem in well water is removed by which stage in our article on treatment stages for well water; but the start of that chain, too, is the water analysis result.
The Basic Parameters Measured in a Water Analysis
A water analysis generally measures hardness, conductivity and TDS, pH, turbidity, iron, manganese, chloride, sulphate, nitrate and microbiological load. Each parameter points to a different problem. Read together, these values reveal the profile of the water and the treatment stages needed.
Knowing the parameters one by one also makes the report easier to read:
Hardness
Shows the calcium and magnesium load; the main indicator of limescale and scaling risk.
Conductivity / TDS
Reflects the total dissolved solids load in the water; points to the need for advanced treatment.
pH
Shows whether the water tends to be acidic or alkaline; affects corrosion behaviour.
Turbidity
States the amount of suspended solids; shows how much filtration is needed.
Iron
The source of red-brown staining and a metallic taste; calls for removal by oxidation.
Manganese
Forms dark staining and deposits; assessed together with iron.
Chloride and Sulphate
Give information about a salty character and the tendency to corrode.
Nitrate
An important indicator pointing to agricultural or waste-related contamination.
Microbiological Load
Shows the presence of bacteria and microorganisms; measured from a separate sample.
For the official limit values of these parameters, the relevant regulations and an accredited laboratory report are what count. The aim in this article is to show what each value tells you; the exact thresholds are set by the reference ranges in your report.
Conductivity and TDS confuse people in particular; we took up in detail what they tell you and what they do not in our article on TDS. When those two values are read together in a water analysis report, a sound picture of the water’s mineral load emerges.
What Do the Physical Signs Tell You?
Marks on taps and surfaces give the first clue as to which parameter may be a problem. White limescale points to hardness, red-brown staining to iron, black staining to manganese. These signs are a guide, but a water analysis must be carried out for a definite answer.
The table below matches the sign you observe with the parameter to be measured:
| The Sign Observed | Likely Source | The Parameter to Check |
|---|---|---|
| White marks on taps and fittings | Limescale build-up | Hardness |
| Red-brown staining | Iron | Iron content |
| Black staining and deposits | Manganese | Manganese content |
| Cloudy flow, sediment | Suspended solids | Turbidity |
| The smell of chlorine | Chlorination of the mains | Chlorine and organic load |
| A salty or metallic taste | Dissolved minerals | TDS and conductivity |
| Soap not foaming | High hardness | Hardness |
| An earthy or musty smell | Organic matter | Organic load, microbiological analysis |
This table is not a diagnostic tool but a first pointer. The signs show which parameters to focus on; the exact content emerges only from a laboratory water analysis. Parameters such as microbiological load and nitrate in particular may give no visible sign at all.
The absence of signs does not mean the absence of a problem. Some of the riskiest components in water are colourless, odourless and tasteless. Judging by eye is therefore no substitute for a water analysis.
How Is a Sample Taken?
A correct sample is the precondition of a correct result. A clean container should be used, the tap should be run for a while, and the inside of the container and cap should not be touched. The sample should reach the laboratory without delay. A microbiological analysis calls for a separate, sterile container.
A sample taken wrongly produces a wrong result even in the best laboratory. The steps for taking a sample correctly are these:
-
Prepare a suitable container
Use a clean container suitable for sampling. Bottles with detergent residue spoil the result.
-
Run the tap for a while
Run it so that the water standing in the plumbing is cleared; the sample then represents the real mains water.
-
Remove any attachments
Filters and fittings on the tap spout can affect the sample; remove them if possible.
-
Fill without touching
Do not touch the mouth of the container or the inside of the cap; avoid the risk of outside contamination.
-
Record the details
The point, date and time the sample was taken should be noted; the report is interpreted with that information.
-
Deliver it without delay
The sooner the sample reaches the laboratory, the more reliable the result; that is critical for microbiological tests in particular.
A separate procedure applies to a microbiological water analysis: a sterile container is used, the sample is never transferred to another container, and it is delivered as quickly as possible with the cold chain maintained. A sample taken for chemical analysis cannot be used for a microbiological test.
These details may look like a nuisance, but they determine the result directly. A water analysis report based on a faulty sample can show you a problem you do not have, or hide one you do.
Which Method Is Used? Field Kits Versus the Laboratory
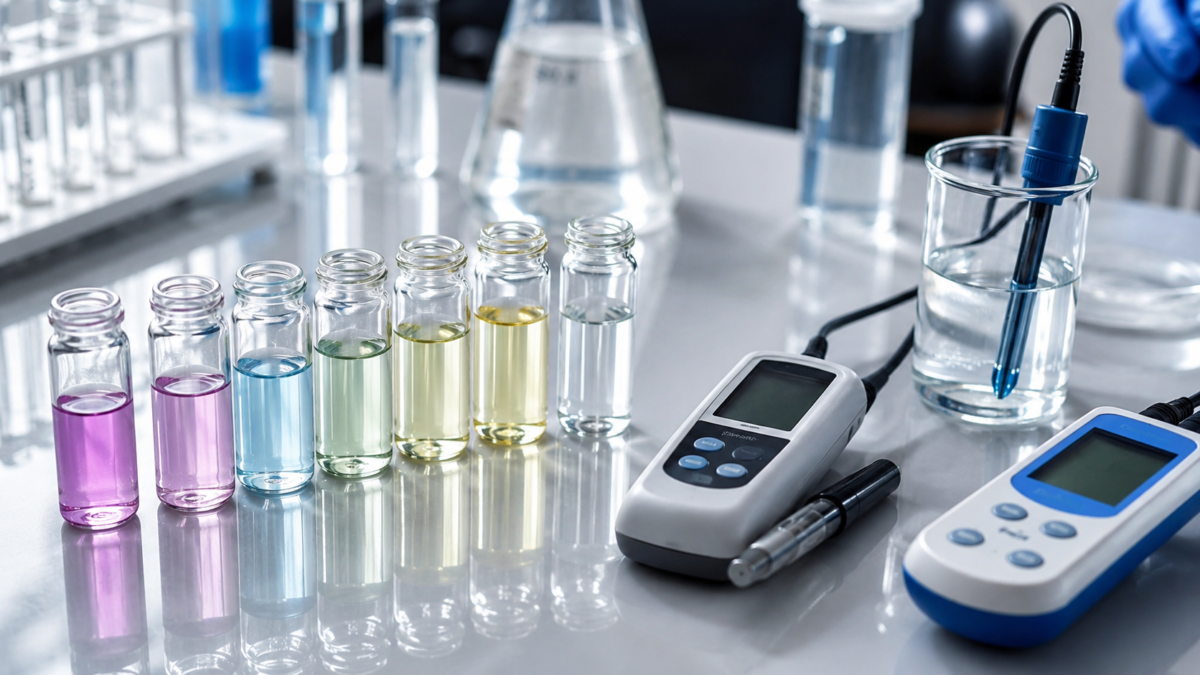
Field kits and digital meters give a quick idea; they show basic parameters such as hardness and TDS on the spot. For a comprehensive and official result, a water analysis at an accredited laboratory is needed. The two are not rivals but complementary tools.
The roles of the two methods separate clearly:
A quick first assessment
Gives an immediate, practical result on site; ideal for follow-up.
- A practical indicator for hardness and TDS
- Suited to monitoring system performance
- Immediate result, low cost
- It does not measure the wider parameters
A comprehensive, official result
Reveals the full profile of the water with a broad parameter set.
- It measures heavy metals and nitrate
- It includes microbiological analysis
- It carries the status of an official report
- It requires a sample and takes time
In practice the most efficient approach is to use both. You establish the profile of your water clearly once with a comprehensive laboratory water analysis, then follow it regularly with field measurements. To watch hardness at home, a limescale test kit is used; to follow dissolved solids, a TDS meter serves the same purpose.
But it has to be said honestly: a field kit does not replace a water analysis report. Critical parameters such as heavy metals, nitrate and microbiological load are measured reliably only under laboratory conditions.
How Is a Water Analysis Report Read?
In the report each parameter is given with the measured value, the unit and a reference range. Units are generally shown as mg/L, ppm, µS/cm or °Fr. Correct interpretation calls for looking not at a single value but at the parameters as a whole; the values should be read in relation to one another.
Three things matter when reading a water analysis report. The first is the unit: the same parameter can be given in different units, and that has to be borne in mind when comparing. The second is the reference range; the range stated in the report is defined by the relevant regulations and the laboratory’s method. The third is reading it as a whole.
Why does reading it as a whole matter? Because the parameters affect one another. A high TDS value on its own, for example, does not tell you what to do; whether that load comes from hardness or from salinity is understood together with the hardness and chloride values. Equally, pH is interpreted in a corrosion assessment not on its own but together with conductivity.
A value outside the reference range is not on its own a reason to panic; you need to understand which parameter leads to which consequence. For a definite assessment, the relevant regulations and an accredited laboratory report are what count.
Reading your report together with a specialist is the most practical route. The same water analysis result can point to different solutions depending on the intended use: the quality needed for drinking water and the quality needed for boiler feed water are not the same. We took up how that distinction is made on the industrial side in our process water article.
What Treatment Solution Does the Analysis Result Point To?
Each parameter points to a particular solution: hardness to softening, turbidity and sediment to filtration, odour and chlorine to activated carbon, high TDS to reverse osmosis, microbiological load to UV (ultraviolet) treatment, and iron and manganese to filtration with oxidation. The water analysis is the map of that matching.
The table below matches the finding in the report with the right stage:
| The Analysis Finding | The Solution It Points To | The Result It Gives |
|---|---|---|
| High hardness | Water softening | Prevents limescale forming, protects appliances |
| Turbidity, sediment | Sand and sediment filtration | Separates suspended solids, raises clarity |
| Odour, taste, chlorine | Activated carbon | Corrects sensory quality, protects the membrane |
| High TDS / conductivity | Reverse osmosis | Markedly lowers the dissolved solids load |
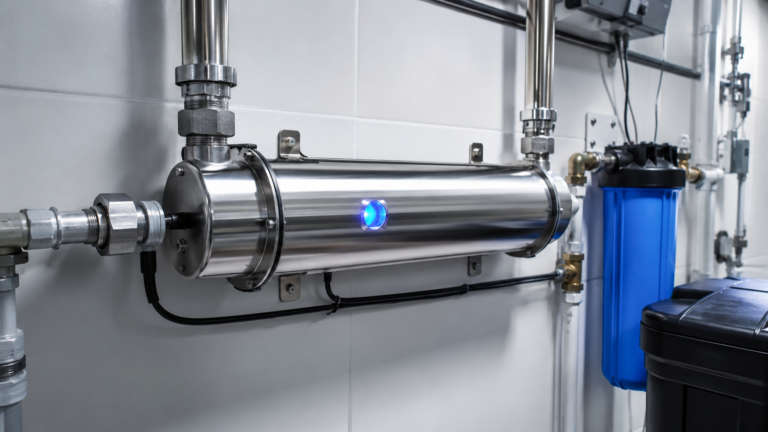
| Microbiological load | UV (ultraviolet) treatment | Reduces microbiological risks |
| Iron and manganese | Filtration with oxidation | Removes the colour and staining problem |
| Nitrate | Reverse osmosis | Lowers the dissolved nitrate load |
This table is the bridge between the water analysis and the solution. Where a hardness problem is found, we took up which type and capacity of softening is needed in our softening selection guide. Where a high dissolved solids load is involved, the reverse osmosis solutions come into play.
Where a microbiological load is found, a separate stage is needed; we set out honestly how that technology works, and what it does and does not do, in our ultraviolet treatment article.
One point is worth stressing: on most waters more than one row applies at once. The solution is then not a single unit but a chain of stages. The order and capacity of those stages, again, is established from the water analysis data.
Let’s establish the real profile of your water together
Have your water measured before choosing a system; let us clarify which stages you need from your analysis result.
See the Unit Selection Guide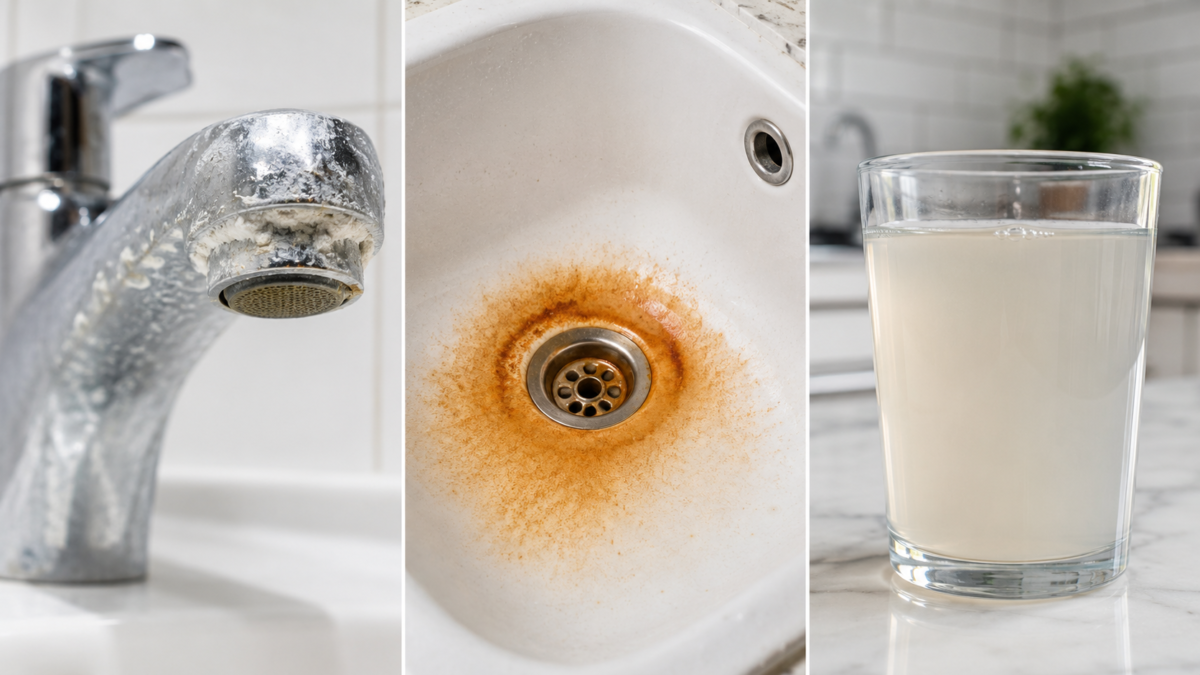
How Often Should You Have a Water Analysis Done?
There is no fixed period; the frequency is set by the conditions of use. On well water, regular monitoring is recommended. On mains water, the analysis should be repeated when there is a change in taste, odour or appearance, after a change to the plumbing, or before moving to a new system.
The typical situations that call for repeating an analysis are these:
- A change in taste, odour or colour: Any sensory change in the water can point to a change in its content.
- Seasonal transitions: In well water, rainfall and the groundwater level can change the content.
- Activity in the area: Where there is excavation, construction or intensive agriculture nearby, a check is needed.
- A change of plumbing or tank: New plumbing and a new tank can affect water quality.
- Before and after installing a system: Before installation for diagnosis, afterwards for verification.
- A fall in the unit’s performance: Where the expected result is not obtained, a fresh measurement is needed.
Regular water analysis matters particularly for households using a well, because the content of groundwater can change over time and that change often gives no sign at all. On the mains side, unless something triggers it, less frequent monitoring may be enough.
After the Analysis: How Is the System Engineered?
The right system is engineered from three pieces of data: the water analysis result, the flow requirement and the intended use. The analysis establishes which stages are needed, the flow the capacity, and the intended use the quality aimed for. A choice made without those three rests, at best, on guesswork.
The process runs on this logic. First the analysis report is read and the problem parameters listed. Then the stage needed for each parameter is established. Then those stages are arranged in the right order, because the order affects efficiency directly — a membrane stage installed without pre-filtration ahead of it, for instance, blocks within a short time.
The next step is capacity. The same stage build is installed at a different scale in a kitchen producing a few litres of drinking water a day and in a business running continuously. The flow and the intensity of use determine the size of the equipment.
The last step is the intended use. Drinking water, general household water and production water carry different quality targets. The same water analysis report can point to three different solutions for those three purposes. Before “which unit should I buy”, therefore, the question “where will I use this water” has to be answered.
When those three pieces of data come together, the system is built on calculation rather than guesswork. We took up all the unit selection criteria step by step in our unit selection guide; but the starting point of that guide, too, is the water analysis result.
Frequently Asked Questions
Why is a water analysis needed?
Because the content of water is invisible. Clear water can carry high hardness, iron or a microbiological load. The analysis shows which treatment stages are needed and prevents the loss of time and money that comes from choosing the wrong unit.
I use mains water — should I still have it tested?
Even though it is measured regularly at source, water can be affected by the tank and the plumbing after it enters a building. The published figures are also a regional average. If there is a change in taste, odour or appearance, or if you are going to install a system, testing is recommended.
Is a home test kit enough?
Field kits give a practical indicator for basic parameters such as hardness and TDS and are very useful for follow-up. But for critical parameters such as heavy metals, nitrate and microbiological load, an analysis at an accredited laboratory is needed.
What happens if I take the sample wrongly?
The result loses its reliability. A dirty container, a sample taken without running the tap, or a bottle left standing too long can show a problem that does not exist or hide one that does. That risk is even higher in microbiological tests.
What should I do if a value in the report is outside the range?
First you need to understand what that value leads to; some parameters matter for aesthetic reasons and some for technical ones, while others are tied to a mandatory limit value in the regulations. The relevant regulations and an accredited laboratory report are what count in the assessment; reading it with a specialist is the soundest approach.
Does the analysis result translate directly into a choice of unit?
Not on its own. The analysis shows which stages are needed; but the flow and intensity of use are also needed for capacity, and the intended use for the target quality. The right system comes from combining those three.
Is testing needed again after the system is installed?
Yes, a measurement after installation confirms that the system is working as expected. Regular monitoring over time also shows any loss of performance in the filters and stages early. That follow-up is the most practical way of preventing unplanned problems.
Conclusion
The right treatment solution starts with the right question: “What is in my water?” The only reliable answer to that is a water analysis report. Hardness points to limescale, iron and manganese to staining, conductivity to the dissolved load, and the microbiological parameters to a different stage; read together, they reveal the real need of your home or your site. The signs guide you but they are not proof; field kits are valuable for follow-up but do not replace a comprehensive report. Taking the sample correctly, reading the report as a whole and assessing the result together with the flow and the intended use — those three steps determine both the right system and the right capacity. In short, the first step of every treatment investment is the same: measure first, then choose.
Have your water measured and let us establish the right solution together
You can get in touch with the Water Point expert team for the water analysis and survey process, and plan a system suited to your result and your need.
Discover the Treatment Stages